
So...this post is a little off topic since its about a project I did that has little to do with Photoshop and nothing to do with scrapbooking, BUT--I wanted to post about it and I did use a computer (including my Silhouette) to do a lot of it, and this is my blog! I can post whatever I want! So here it is--my Christmas Advent Calendar. Mine is the one on the left is mine, and the one with the red ribbons on the right is my sister's.

We had one when we were kids. As the youngest of five sisters, my turn to put up the daily decoration on the tree didn't come around too often and was most exciting. I remember counting it out and seeing which one I'd have on my day. I've wanted one for a long time, but this year Afton is nearly 4 and the twins are 18 months--old enough to start the tradition.
I wasn't sure where to start. I saw a few pictures online and on Pinterest, but could find no tutorial for it. Purchasing them is expensive--and I can see why. They are so time consuming to make! This took the two of us about nine hours. So I called up my sister Nicki, who is always my go-to pal for sewing projects. Nicki helped me make the bedding for my twins in 2011.
So Nicki and I got together and pooled our talents. We are complete opposites in so many ways, but have a lot of similar interests. When we do a project together, it seems to work out great because of this difference. She with the measuring/mathy/sewing side and me with any drawing and creative insights. I can sew, too, and I was the one with access to the awesome Silhouette! Yeah, I'm pretty sure she could have done it without me, but I know I couldn't have done it without her! The whole thing only cost about $22.00 to make. It really cut down on the cost to buy the materials together.
- 1 yard canvas or burlap (or some other very sturdy material for your background)
- 1/2 yard cotton fabric for the pockets
- 1/2 yard green felt from the roll
- 1/4 yard fabric for the lettering. We used a gold silk I had leftover from my daughter Afton's Halloween costume.
- 10-12 squares of felt from a craft store. We got some of it with the glitter--highly reccommend that. Especially the white glitter. Gets lots of colors.
- 1 inch wide dowel with end peices
- Thick ribbon for hanging
- Glue gun, sewing machine, green thread
- Any other supplies you want to add
- Glitter glue (gold and silver. Made a HUGE difference)
- Various types of ric-rac, braid, and ribbon
- Small sequins, puff balls, rhinestones, etc
Step 1: Prepare your canvas. The size is up to you, based on the room you have in your house. But make sure to account for the tree and leave room for the pockets at the bottom. We bought 1 yard 60" wide and just cut it in half, one for each of us. Then we just hemmed all four edges. The top edge we left a large loop so that we could thread the dowel through to hang it. When finished, its 33 inches tall and 28 wide, with the edges hemmed.
Step 2: Cut out your tree. I'm afraid I don't have a pattern for this. It really was a work in progress. I made several patterns out of paper before I was satisfied. We made our tree out of three separate peices, so I had three patterns. I just drew half the tree on folded paper, then cut it out double so it was the same on both sides. We decided to add tinsel to our tree--I glued this on before we sewed the tree on to the canvas, but later wished we'd done it the other way around. It was a lot harder to sew on the felt with the tinsel there. The tinsel is just from the ribbon section at Hobby Lobby and was just hot-glued on.

- Cut four strips out of iron-on interfacing. They should be 12x2, 18x2, 21x2, and 24x2.
- b. Iron these strips on to the pocket material, leaving a healthy edge.
- c. Cut around the strips leaving about a 1/2 inch margin
- d. Iron the excess margins flat against the back

Step 4: Numbering. There are a lot of ways to do numbering, but I am SO glad we had access to a Silhouette to do ours! I just got the material and ironed it on to the Silhouette interfacing. Peel off the back then run it through the silhouette to cut your letters out of fabric. I got to choose my font, and the Silhouette makes it easy to size it exactly. I made sure they were just under 2 inches and would fit our pockets just right. They came out perfect! We ironed on the letters before we sewed on the pockets, which was scary because there is no second chance with that! I just made sure to measure every three inches and then sew the number on. You could also just paint the numbers with glitter glue or cut them out by hand.


Step 5: Sew on pockets and tree. Again, this was Nicki's job! I was too afraid! But it was pretty simple. She sewed along the bottom and the edges, and then measured every two inches and sewed vertically up to complete each pocket. Do the pockets first. We left a 1/2 inch space between each row. Then sew on the tree with green thread. This can also be a bit challenging to not let the felt pull at all when you are sewing. The nice thing about doing three separate peices was that we could adjust the tree to fit the space left very easily.


Step 6: Making the Ornaments. This was the most time consuming but also the funnest part! A few of the patterns I drew free-hand. But most of them came from shapes online. So I guess I DID use Photoshop a little for this! I'd find some free Christmas shapes, or download a Christmas Dingbat font. Then I'd pull the shape or the font into my Silhouette and size it to the right size. Then I'd cut it out on cardstock. These became the patterns.
Here's a trick: FREEZER PAPER. This made eveything so much easier. SO glad I read this tip online before we started. You trace your pattern onto the freezer paper. Cut out the pattern just square--don't cut it out perfect. Iron the freezer paper onto your felt. Make sure you iron it just enough to make it stick--I barely ironed it at all. Cut it out. The nice part was that you could use it again. We made all ours double sided, and we were make two sets, so I could re-use the freezer paper pattern over and over again. Here are some up close shots of some of the ornaments we did.


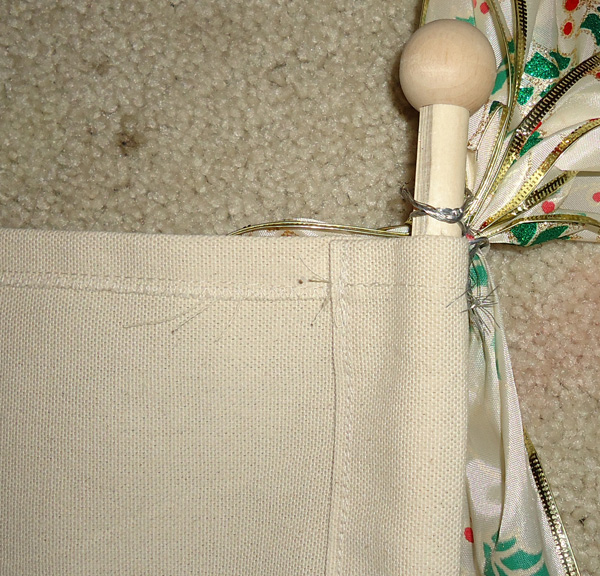
Step 7: Hanging your Tree. Put the dowel through the loop you made. You can paint the dowel if you want. Add the bobs onto each end. I just used ribbon to tie each end and hang it from the wall.
Step 8: Hanging the Ornaments. This part was something Nicki and I discussed for a while before we decided what to do. The one we had growing up, you just stuck it on the tree, felt to felt. It usually stayed up. But over the years the ornaments got old and handled so much that they fell off a lot. We started to pin them instead. But I didn't want my kids dealing with pins. We also talked about using buttons--just sewing 25 buttons on the tree and then adding a loop to each ornament. But buttons are so expensive! And we'd need 50 of them betweent he two of us! Velcro is another option, and would work great if you can get green velcro. Or magnets--but that seemed expensive too. In the end, we decided to use simple hook & eye. Hot glue the eye onto each one, and then hot glue the hook onto various locations on the tree. One thing I wish I had done is place the eye further down on each ornament so you can't see it--it would have been a lot easier to hang it. Also, you don't get a second chance when putting the hooks on the tree, so place them carefully!

So there you have it. I hope this tutorial is helpful--other than that I'm posting it AFTER December 1st so I guess you'll have to wait until next year!
No comments:
Post a Comment